cPanel email account setup in Outlook ...
This tutorial will help you to add a new or re-configure the existingcPanel email account in Microsoft Outlook 2019.
NOTE: In this article, we use support@nctest.info address as an example.
Follow these steps in order to add a new email account:
1. Open Microsoft Outlook 2019 on your device.
2. If you don't have any mailboxes added yet, you will see the Account Information page. Click the +Add Account button there.


3. Type in your full email address that was created in your cPanel >> Email Accounts menu and click Connect.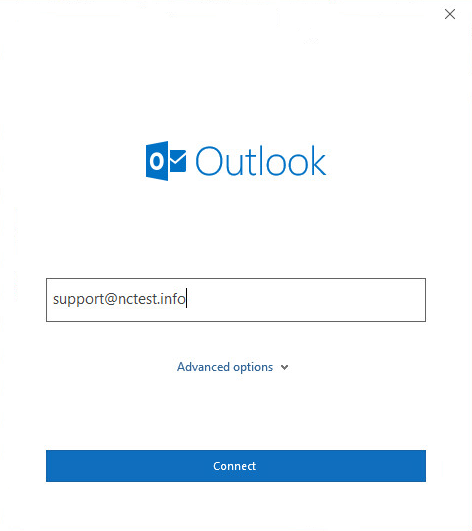
Disregard any warnings that may appear, and proceed to the next step.
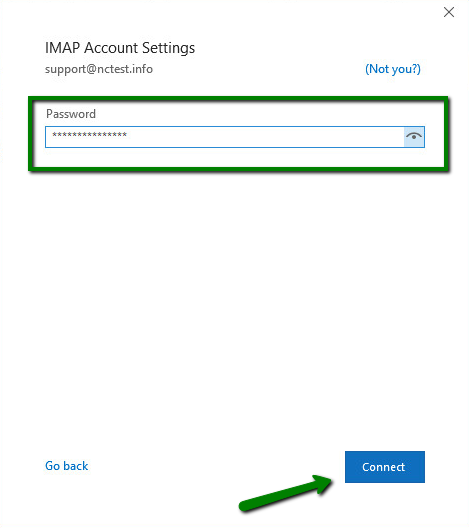
4. Type in the password you are using for this email address and click Connect:
5. Select the Change account settings option and click Next. On the next page, select the POP or IMAP option and then click Next.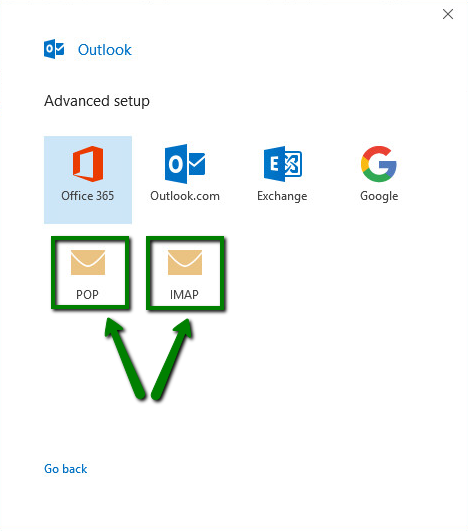
- Incoming mail server: mail.your-domain-name.co.tz is used as an example, replace it with your actual server)
- Incoming mail port: 993 (or 143 with STARTTLS)
- Encryption method: SSL/TLS (or STARTTLS if 143 port is used)
- Require logon using Secure Password Authentication (SPA): should be unchecked
- Outgoing mail server: mail.your-domain-name.co.tz (the same as the incoming mail server)
- Outgoing mail port: 465 (or 587 with STARTTLS)
- Encryption method: SSL/TLS (or STARTTLS if 587 port is used)
- Require logon using Secure Password Authentication (SPA): should be unchecked
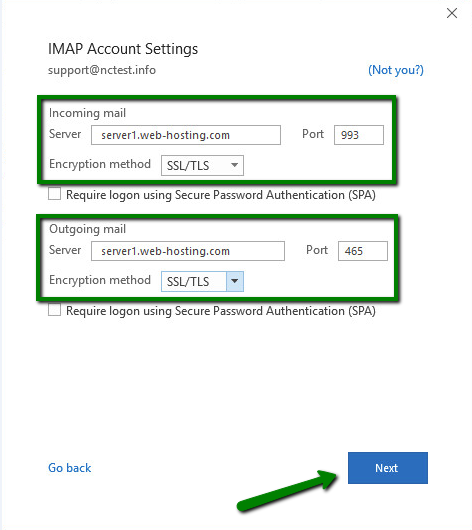
8. Once all details are filled, click Next.
9. After that, type in your password for this email address and click Connect:
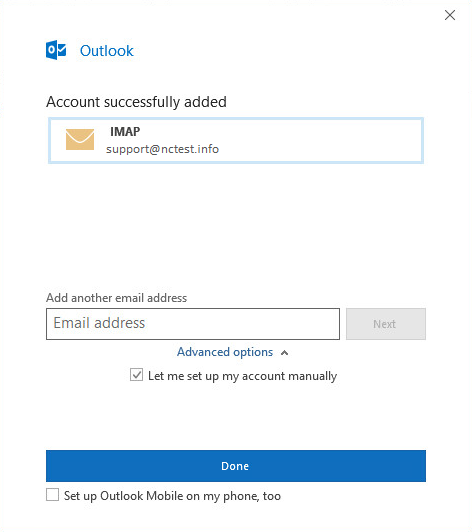
Click Done to complete the setup.
That's it!
