Google Mail Fetcher functionality allows you to add your cPanel email account into Gmail Webmail, so you will be able to conveniently check both accounts in one place. In order to configure it, follow the steps below:
1. Log in to your Gmail account and go into Settings menu: 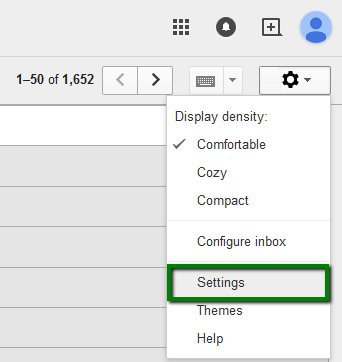
2. Navigate to Accounts and Import tab.
3. Click on Add a POP3 mail account you own option in Check mail from other accounts (using POP3) section: 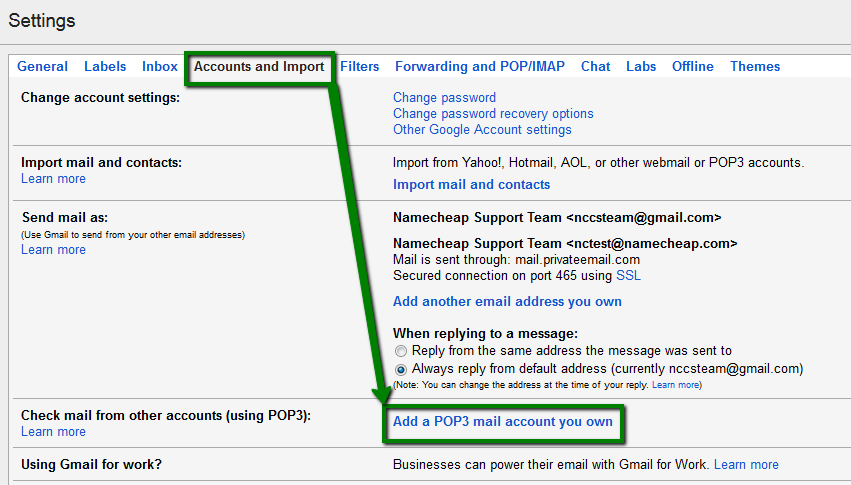
4. Enter the address of your cPanel email account and click on Next Step: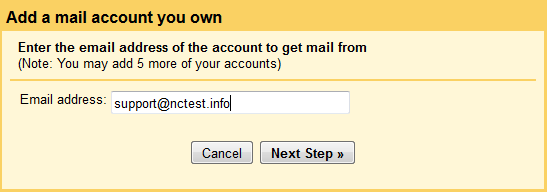
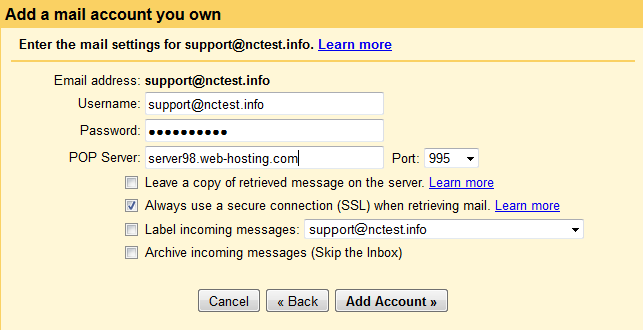
5. On the next page configure the settings as follows:
Username: full cPanel email address
Password: password for your email account
POP3 Server: server your account is hosted on (Check Client Email settings in cPanel of webmail or contact us)
Port: 995 (Always use a secure connection (SSL) when retrieving mail option should be checked), or 110 with no SSL
Checkmark the options you need:
- Leave a copy of retrieved messages on the server
- Always use a secure connection (SSL) when retrieving mail
- Label incoming messages
- Archive incoming messages
NOTE: if by any chance you do not remember your password, you can easily reset it in your cPanel > Email accounts menu > Change password option.
6. Click on Add Account.
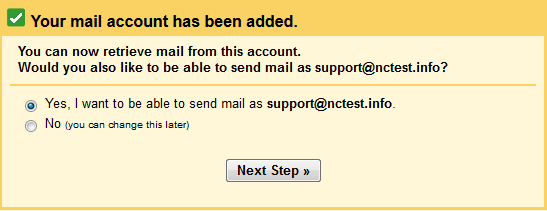
7. Once your account is successfully added, you can decide whether to use this email as From address. This way you will be able to compose messages in Gmail, but have them appear to be sent from your cPanel email address.
Check Yes option to enable this functionality:
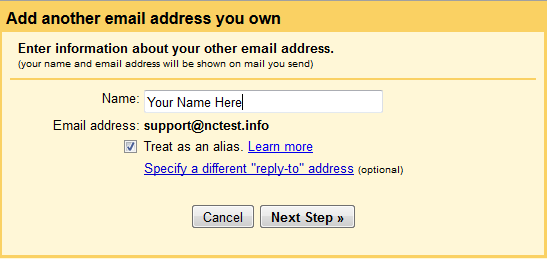
8. Enter the Name you would like to see in the FROM field and click on Next Step:
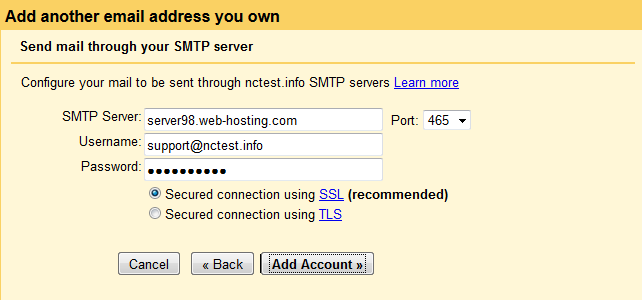
9. Configure the settings as follows:
SMTP server: server your account is hosted on (Check Client Email settings in cPanel of webmail or contact us)
Username: full cPanel email address
Password: password for your email account
Port: 465 (with Secured connection using SSL option enabled), or 25 (with Secured connection using TSL option enabled)
Click on Add Account once all the details are filled:
10. Now check the verification code sent to your cPanel email address (since you already added the account in Gmail, the code will be delivered to Gmail inbox).
Paste it in the corresponding field and click on Verify to finish the setup process:
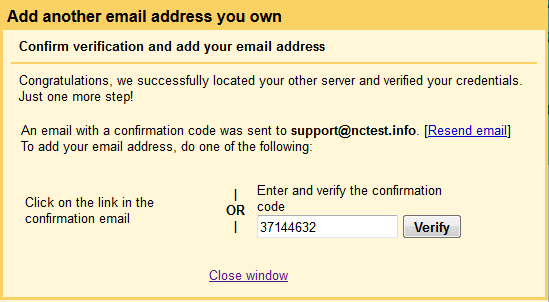
That's it!
